First of all, if you want a very basic, simple, easy, and good recipe, check out Money Saving Mom's version. That is the recipe I used for my first attempt which got me started on my yogurt making journey. It's easy, fairly effortless, requires minimal equipment, and you can use easily found organic items.
However, if you want THE BEST yogurt for less money, keep reading.
The only fault I have with most homemade yogurt recipes is that I like my yogurt THICK. I want to be able to stir in my fruit and still have my yogurt mound up on my spoon. I searched high and low for ways to thicken my yogurt.
First, I tried to denature the milk proteins more which helps coagulation. That's fancy for "cook the milk longer."
Then I tried straining to yogurt using cheese cloth. After all, that's how the famous Greek Yogurt is made- no additives, just straining.
Third, I tried adding powered milk. Adding powdered milk adds more milk proteins which is what coagulates and creates texture.
Fourth, I tried adding a thickener. I went with corn starch because I like a more creamy texture as opposed to a more gelatinous texture that adding gelatin would give.
The verdict? The straining alone was horrible. My yogurt was thicker, but very gooey and had a weird flavor because I had drained so much of the whey out. And speaking of which, I had drained almost 2 cups out to get the thickness I wanted which didn't leave me with that much extra yogurt! Very disappointing.
The magic combination utilizes 1, 3, and 4 above. Yes, I'm using processed foods; sue me. :-) Seriously though, you've got to find what works for you. There is organic powdered milk and I'm sure there must be organic corn starch somewhere too.
On the positive side of things, adding the powdered milk has the benefit of adding more protein to your yogurt. This is a great thing for us because I often use yogurt as a protein source in my meal planning.
Let's get on with it! Here's what you need:
- 1/2 gallon milk (any standard milk will do, but I use whole milk because of the baby)
- 1 cup powdered milk
- 2 TBLS corn starch
- 6oz plain yogurt with live cultures- don't skimp on this part. Get high quality, PLAIN yogurt.
- Thermometer that reads between 120-180 (candy thermometer works well)
- Cheese cloth (don't be intimidated by this item- cheese cloth can be found in any major grocery store, Walmart, Target, and of course Amazon)

Pour the milk into a large pot, and add the powdered milk. Turn the heat up to medium-high.
Pull out the yogurt you are going to use to allow it time to get to room temperature. In the photo above, I used some of my homemade yogurt from the last batch as my starter for this batch.
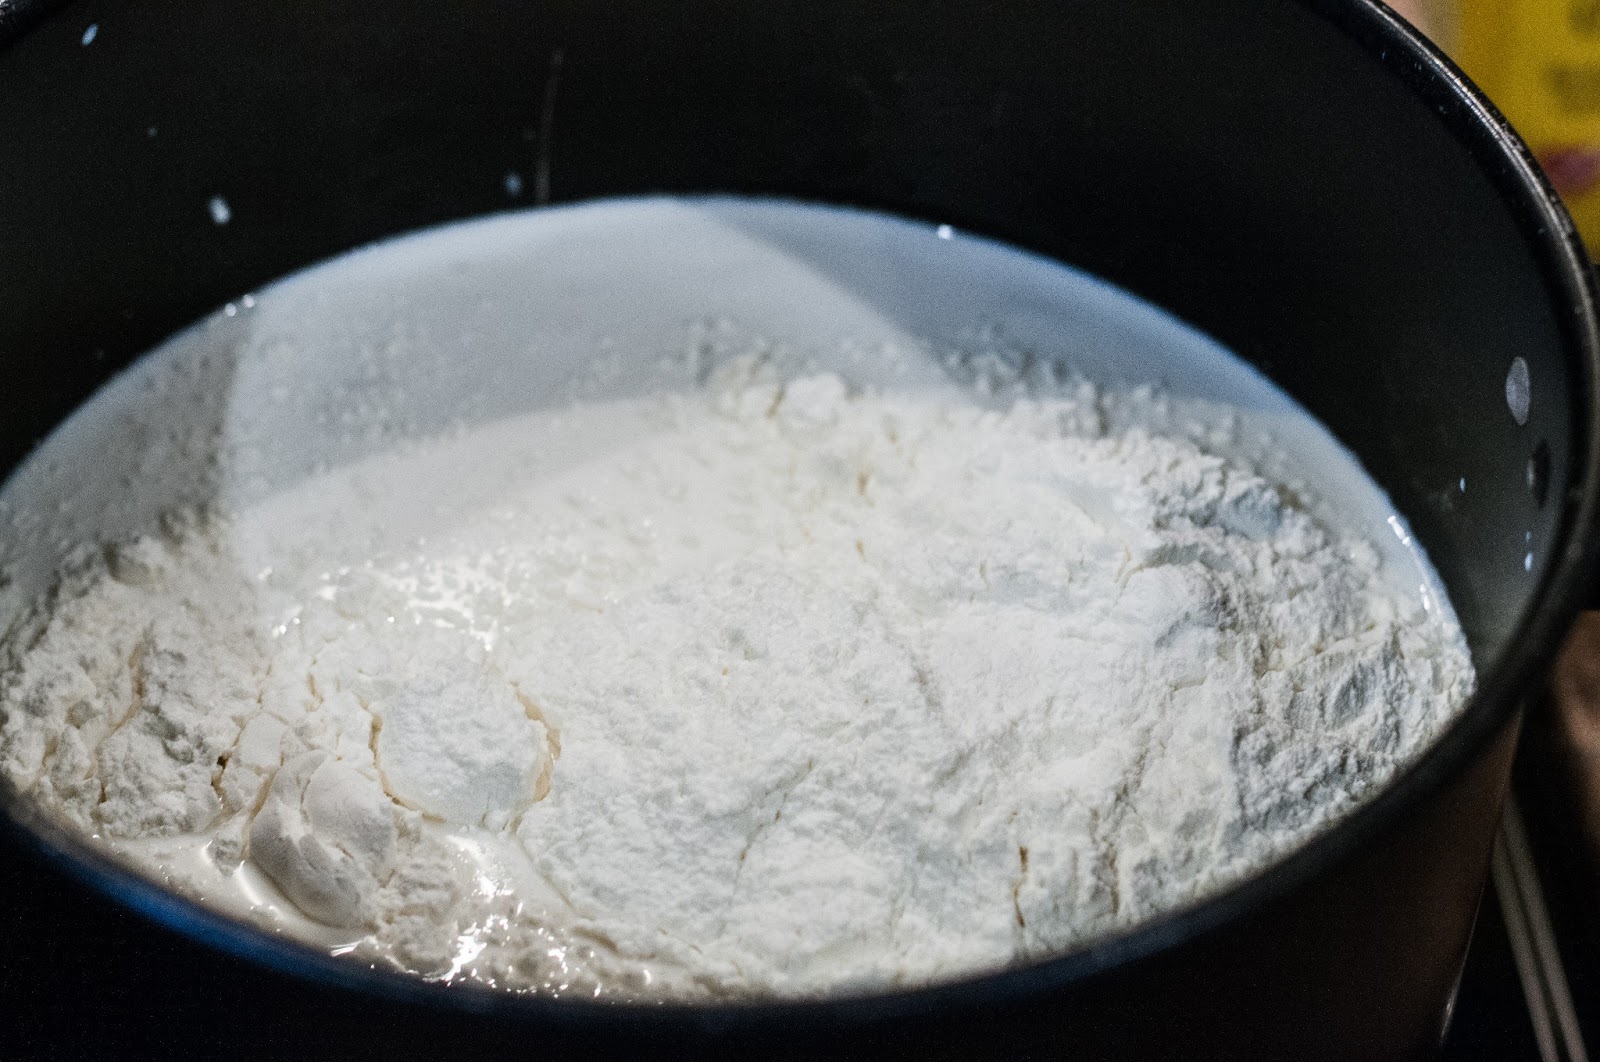
The first time I added the powdered milk, I thought I did something wrong because it doesn't just dissolve right away. It gets all clumpy and weird. Just keep whisking.

Pretty soon it will get nice and foamy and most of the lumps will be gone.

Stick the candy thermometer in, and bring the temp up to just under 180 and hold it there for 30 minutes stirring pretty regularly to avoid the milk proteins sticking to the bottom of the pot. This is the denaturing process. You don't want it any higher than 180 or lower than 170. Sometimes I've had to switch burners to a smaller one to keep the temperature right.

Once you get just under 180 degrees, pull out a cup of milk or so (not exact), and put it in the fridge to cool off. With about 5 minutes left of the denaturing process, whisk in the corn starch into the cooled cup of milk, and then stir the mixture into the pot of hot milk.

Turn off the heat and let the milk mixture cool to 120 degrees, occasionally stirring in the film that forms at the top.
Once the temperature has reached 118-120, gently whisk in the yogurt until thoroughly mixed.
Line a colander with cheese cloth and strain the milk mixture. This removes any little lumps from either the corn starch or the scalding process (which we don't want to happen, but invariably happens to some degree).

Pour the strained milk into whatever storage containers you will use. I like my Ball jars for this part.

Here comes the seemingly odd part. We've got to keep the yogurt nice and warm for 10-12 hours. I know, I was skeptical of this part too; milk? warm? for 12 hours? But that's what allows the live cultures to do their job and turn all that plain milk into yummy yogurt.
I have a pizza stone and I warm up my oven (warm setting) with the stone in it. Then I lay a towel down, put my yogurt on top of the towel, fold up the towel around it, then put a second towel over all of it to keep it really insulated. It's a great use for those old, ratty towels!

Then I close up my oven, turn off the heat, and go to bed. It should be noted that I start this process after dinner so that my oven time is while everyone is sleeping.

When I wake up in the morning, I have nice solid yogurt!

But wait! We're not done yet. Before you are tempted to stick a spoon in that yumminess, it needs to thoroughly cool. My front stoop on a really cold day is a great place to chill it down. Obviously the fridge is fine, but I didn't want to

Once the yogurt is chilled, stick in the fridge- if you don't eat it all first! My favorite topping is brown sugar, and after the kids go to bed, I've even been known to drizzle a little peach schnapps over it. Yum!!


